Most 3D Scanners require positioning target dots for high quality capture. But why do I need target dots and what types of target dots do I need for my application are some of the questions we will answer in this article.
What are target dots and why do I need them?
3D scanners have made their entry in the early 90's initially with structured light scanners, and then with portable laser scanners. All scanners rely on reflection from the object surface and cameras to create a 3D shape that can be later used for reverse engineering or metrology. The different technology of 3D scanners rely on positioning targets to help the software stitch together the images from the scanner into a coherent data set. In other words, the dots help the scanners position themselves in 3D via triangulation, not unlike a GPS receptor. Each image typically needs a minimum of 3 targets in the field of view to be aligned in the 3D space, but it is often recommended to have at least 5 for better accuracy. The target dots also allow multiple images to align together during the acquisition to improve the accuracy. Some industrial scanners rely on other methods to position the scanner like optical or laser tracking, but these methods are usually less accurate than positioning targets.

What type of positioning targets do I need?
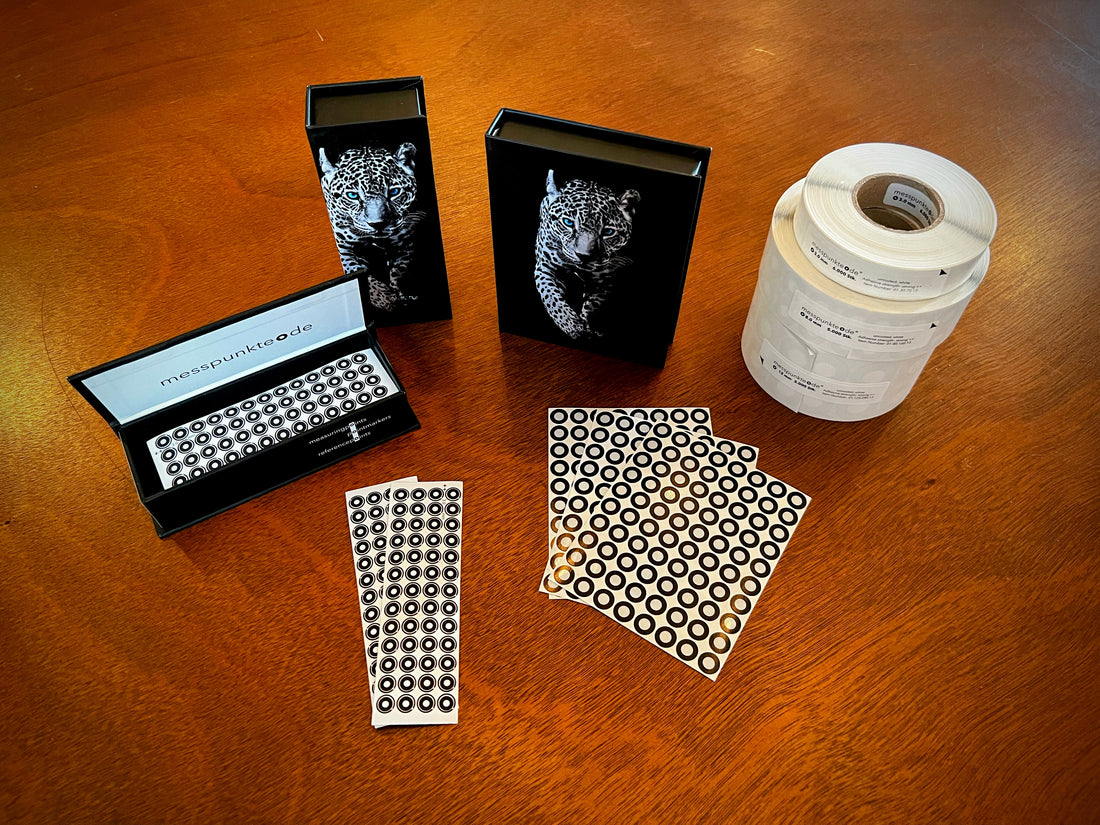
The different types of scanners in the market operate in similar ways as they use optical method to measure a point cloud on the surface of parts and assemblies. However, the different technologies typically use different types of targets. Three factors are to be considered: surface finish (black and white or retro-reflective), dot size and adhesive strength
Retro-reflective or black and white targets?
-
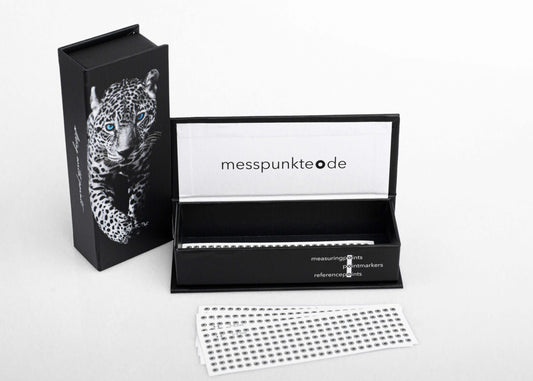
Retro-reflective targets are used when the light needs to be reflected directly towards the light source. They allow cameras to detects dots even in low or high light environment. Typically used with hand-held laser scanners and photogrammetry systems, retro-reflective targets reflect light towards the light source, and not unlike the coating on reflective safety jackets, they are coated with microscopic glass particles. The shape and size of these particles is directly linked to the quality of the coating. Other reflectors used in metrology are SMR reflectors for laser trackers. They use a different technique to reflect light back at a bigger scale. These reflectors are made out of 3 perpendicular reflective planes cut in a metal ball, otherwise called corner cubes and act in a similar way as the glass particles on the reflective coating by bouncing the light back towards the light source.

-
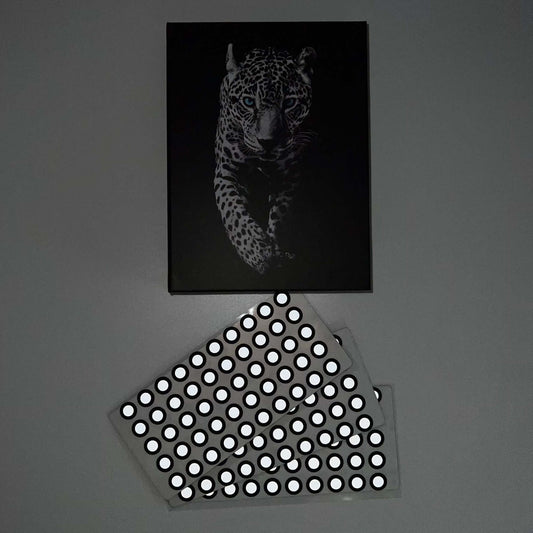
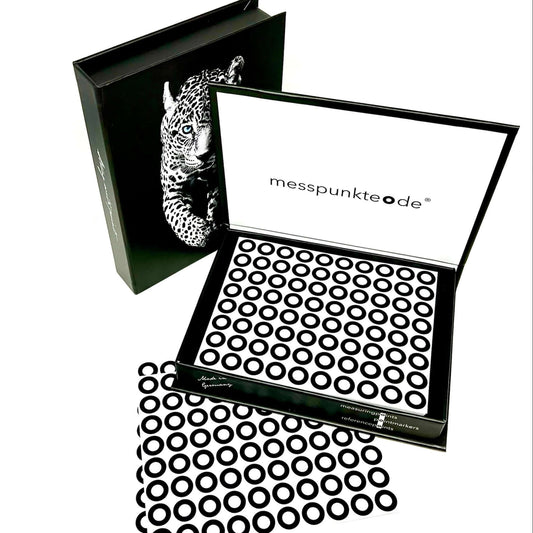
Black and white targets are more strains forward and typically used with structured light scanners and some photogrammetry systems. The important factor here is the anti-glare coating that these dots are treated with. The coating will allow scanning in high luminosity areas and help scanners detect the dots even at tight angles.

What size targets do I need for my 3D scanners?
The easiest way to answer this question is to look at what targets were provided with your scanner. Most hand-held laser 3D scanners use 6mm retro-reflective target dots. Structured light scanners have a wider range of sizes depending on the resolution and the measuring area. A good rule of thumb to calculate the dot size is to allow each dot to be seen by 8 to 15 pixels across the image. Let's take the following example: the measuring area is 400mm across and the scanner is equipped with 12 megapixel sensors (4000 x 3000 pixels). One pixel is 400/4000=0.1mm across. So the proper size targets should 8 to 15 times bigger, therefore the 0.8mm and 1.5mm are good candidates for this applications.

What adhesive strength should I use?
The adhesive strength needed depends mainly on the use case for scanning. If the part is discarded after usage, a strong adhesive will ensure proper adhesion during the handling and scanning. If the part needs to be be measured multiple times, for example to quantify the wear or damage after cycle testing, it is recommended to use strong adhesive.
On the opposite end, if the part needs to be cleaned up quickly after scanning, a light adhesive is more suitable. For most applications however, the standard adhesive strength will work just fine.
Please contact us if you have any additional questions or need help picking targets specifically for your application.