CMM vs 3D Scanner - The battle of metrology equipment
Share
When it comes to metrology equipment, two tools that come to mind are coordinate measuring machines (CMMs) and 3D scanners. Both are used for quality control and dimensional measurement, but which one is better? Let's explore the advantages of both tools and how they compare.
Advantages of CMM
CMMs are known for their high accuracy and precision, making them ideal for measuring small features and tolerances. They are also capable of measuring in a wide range of materials, making them versatile. In addition, CMMs are cost-effective for low-volume, high-precision measurements.
Advantages of 3D Scanners
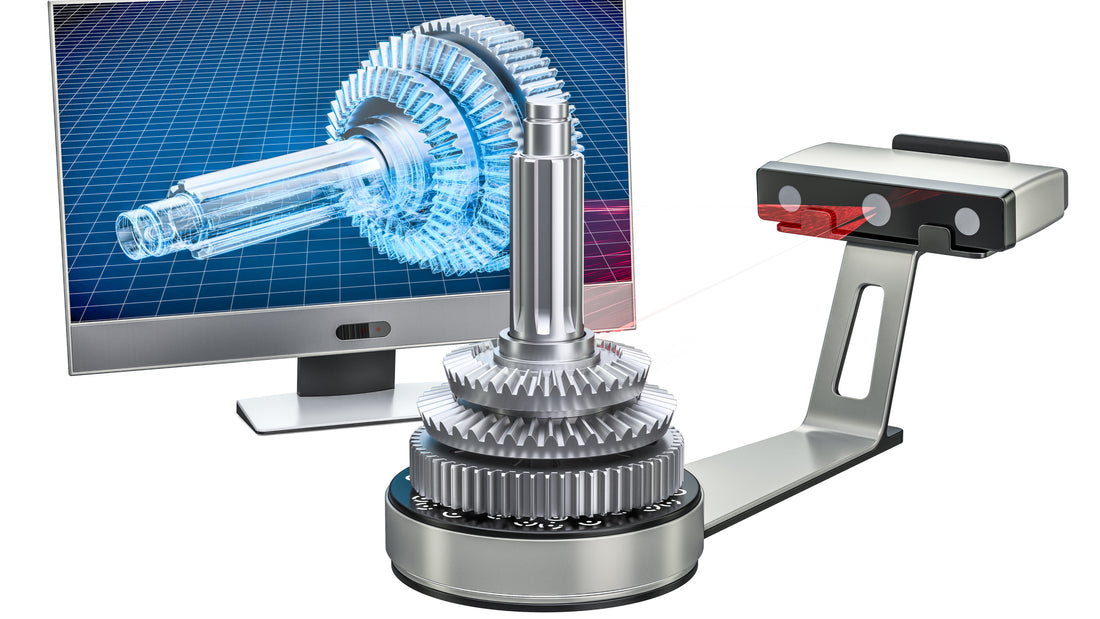
3D scanners are known for their speed of measurement and their ability to measure complex geometries and free-form surfaces. They are also non-contact measurement devices, reducing the risk of damage to delicate parts. Lastly, 3D scanners can capture complete 3D models of objects, making them useful for reverse engineering and quality control purposes.
Comparison of CMM and 3D Scanners
When comparing CMMs and 3D scanners, the former is known for its higher accuracy, while the latter is faster and more versatile. CMMs are also more affordable for lower-volume, higher-precision applications, while 3D scanners are better suited for high-volume and complex geometries. In terms of ease of use, 3D scanners are generally easier to operate than CMMs.
Conclusion
Both CMMs and 3D scanners have their advantages and limitations. While CMMs are more accurate, 3D scanners are faster and more versatile. Ultimately, the choice between the two will depend on the specific needs of the application. However, in modern manufacturing, 3D scanners are becoming increasingly popular due to their speed, ease of use, and ability to capture complete 3D models. Nonetheless, CMMs will always be valuable for specific applications, such as high-precision, small-volume measurements.

