How to Apply 3D Scanning Target Dots Correctly
Quick answer: Reference markers only work when the scanner can detect them and their positions remain fixed. Good application is about layout, overlap, and protecting critical geometry.
1. Verify type and size
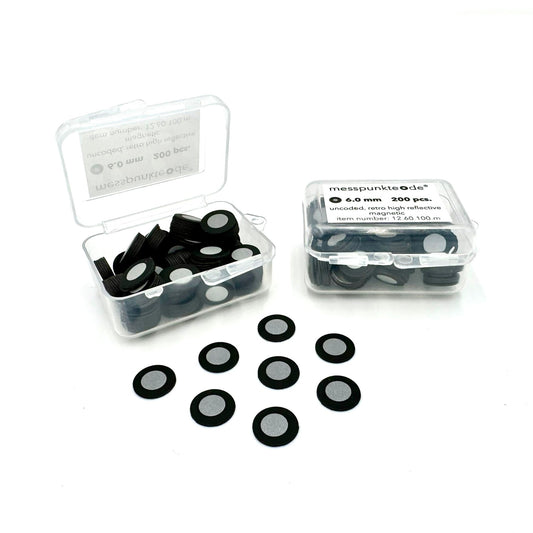
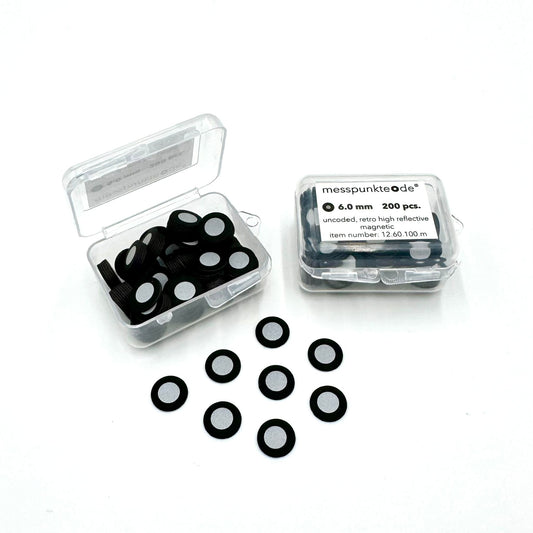
Check that the target material and inner-circle diameter match the scanner's documented settings. Use a small recognition sample before preparing the entire part.

2. Clean the surface
Remove loose dust and contaminants using a method approved for the part finish. Allow the surface to dry. Fragile or sensitive components may need markers on a rigid fixture instead of directly on the part.
3. Place targets irregularly
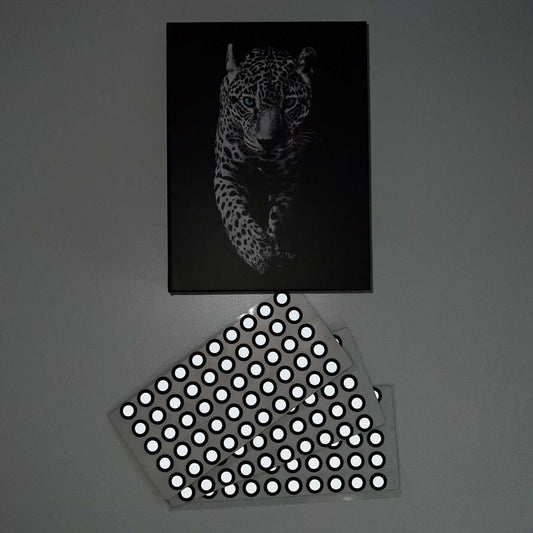
Avoid straight rows, repeating grids, or symmetric clusters. Distribute targets around corners and changes in viewing angle. Stay clear of edges, holes, tight radii, and inspection datums.
4. Maintain visible overlap
Keep enough markers in the live field of view and across consecutive frames, based on your scanner's manual. Numbers and spacing differ by equipment. Check marker count by making a slow practice sweep.
5. Check stability throughout the scan
Do not move a marker, part, or target fixture after registration begins. Avoid lifting edges and damaged dots; replace them before the scan rather than halfway through.
6. Remove and inspect
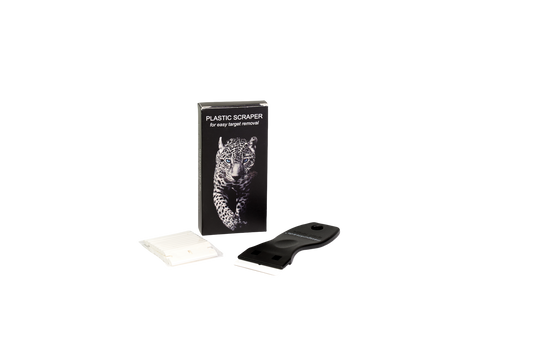
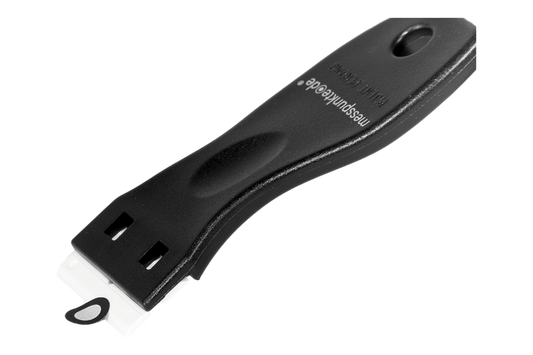
After scanning, peel slowly with a fingernail or suitable plastic scraper. Use a surface-approved cleaner for any residue and check the finish before continuing production.
Related 3D scanning guides
If marker recognition is unreliable, check the number of targets you need, scanner-specific marker sizes, and adhesive and reusable mounting options. These articles cover the next steps in the same workflow.
Frequently asked questions
Can targets go on curved surfaces?
Gentle curves may work if the target remains flat enough for reliable center detection, but flat rigid surfaces are safer.
Should markers go on before spray?
For many difficult surfaces, spray first so the target centers remain clear; confirm coating adhesion and follow the scanner-specific process.
Further reading and supplies: Explore Messpunkte 3D scanning targets. Check the current equipment manual and product technical documentation for your specific setup.
How we select and verify technical sources ↗
Technical guidance is general. Check your scanner documentation and the relevant manufacturer's current technical and safety data sheets before applying products to sensitive parts.